
Naddle Low Forest - Lake District Walk
Wednesday 14th October 2020
The whole purpose of this walk was to complete the Branstree group of fells and finally claim the summit of Low Naddle Forest, which we had missed out in March 2019. Rather then do a simple up and down to claim the summit we devised a route that would allow us to walk from the hotel. The original plan had been to head for Brown Howe and then descend to Aaron's Bield, a route I had seen on Paul Sharkey's website, but given how wet the ground was we opted to stay high and instead headed for Hare Shaw and then followed the route we had used previously to access the Naddle Forest summits.
Start: Haweswater Hotel (NY 4834 1390)
Route: Haweswater Hotel - Old Corpse Road - Ritchie Crag - Woof Crag - Hare Shaw (OF) - Naddle High Forest (OF) - Wallow Crag (OF) - Hugh's Laithes Pike (OF) - Naddle Low Forest (421) - Naddle Farm - Haweswater Hotel
Distance: 8.5 miles Ascent: 513 metres Time Taken: 7 hrs 35 mins
Terrain: A mix of clear paths and vague paths
Weather: Sunny with cloud building
Pub Visited: Haweswater Hotel Ale Drunk: Worthington Bitter
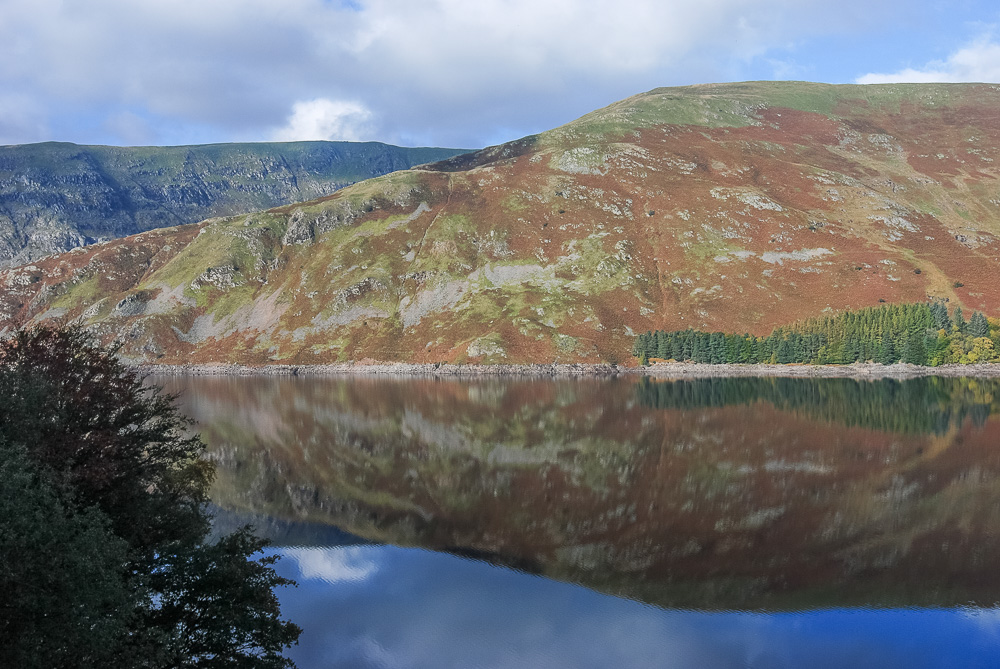
The weathermen had promised us a good day for today's walk and the view from our bedroom window showed, they were correct.
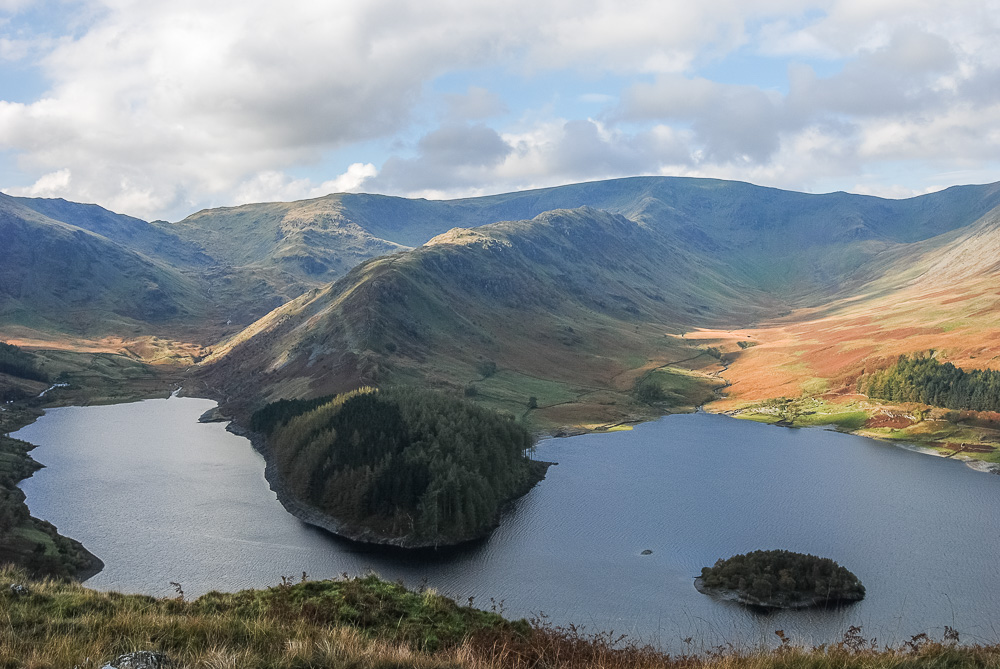
A short walk along the road and a steady climb on the Old Corpse Road, alongside Rowantreethwaite Beck, soon brought us to the cairn where a great view across the valley to The Rigg and High Street is available.
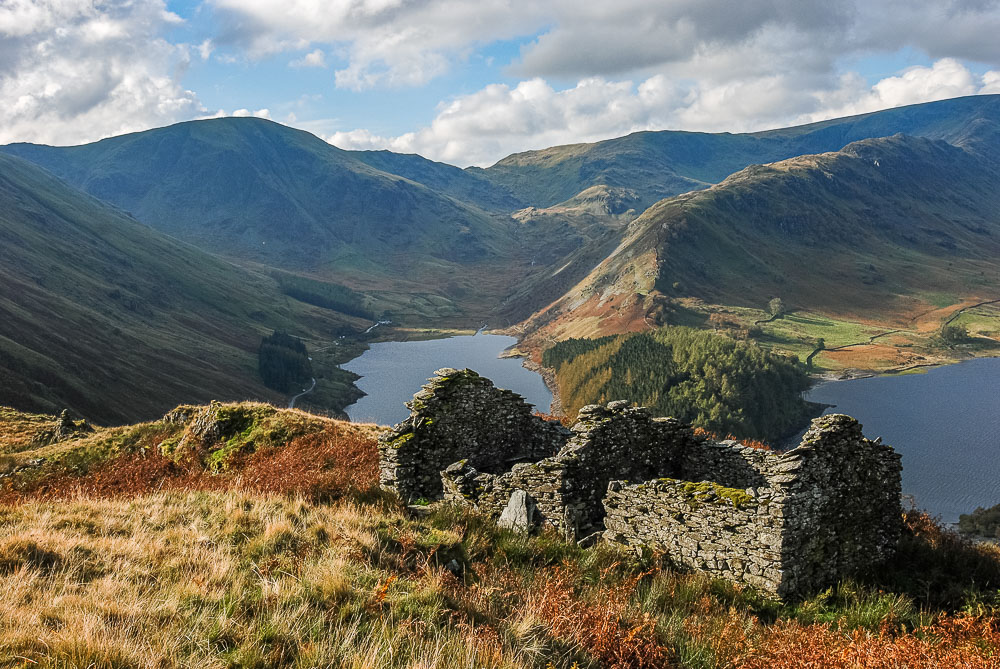
Another short ascent brought us to the old shepherd's cottages. Here looking towards the head of Haweswater with Harter Fell now in view.
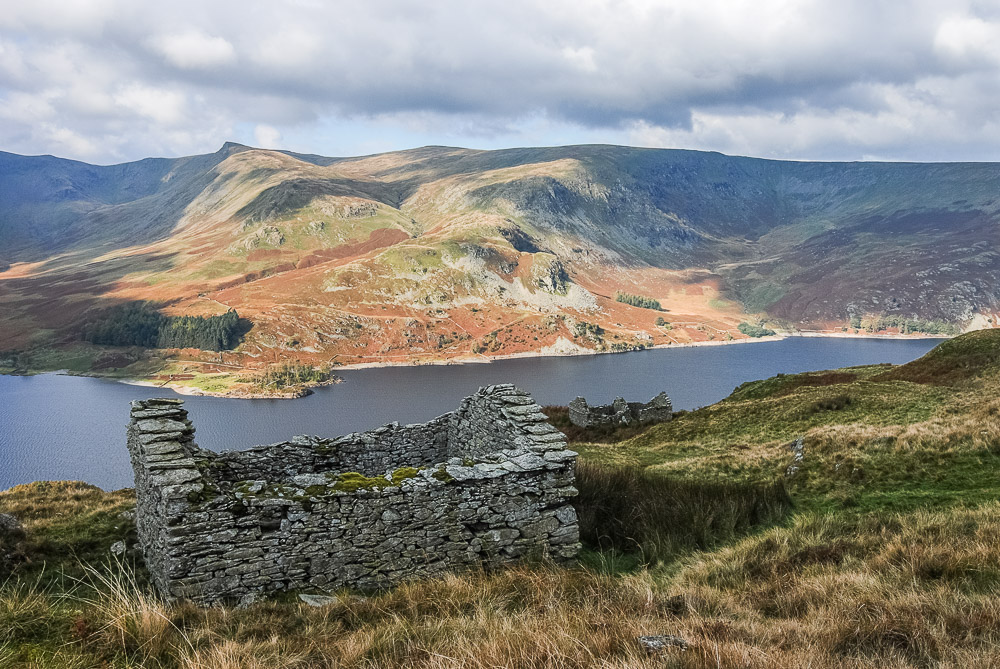
Continuing along the Corpse Road and we soon reach another cottage, this time looking across the valley towards Kidsty Pike and Whelter Bottom.
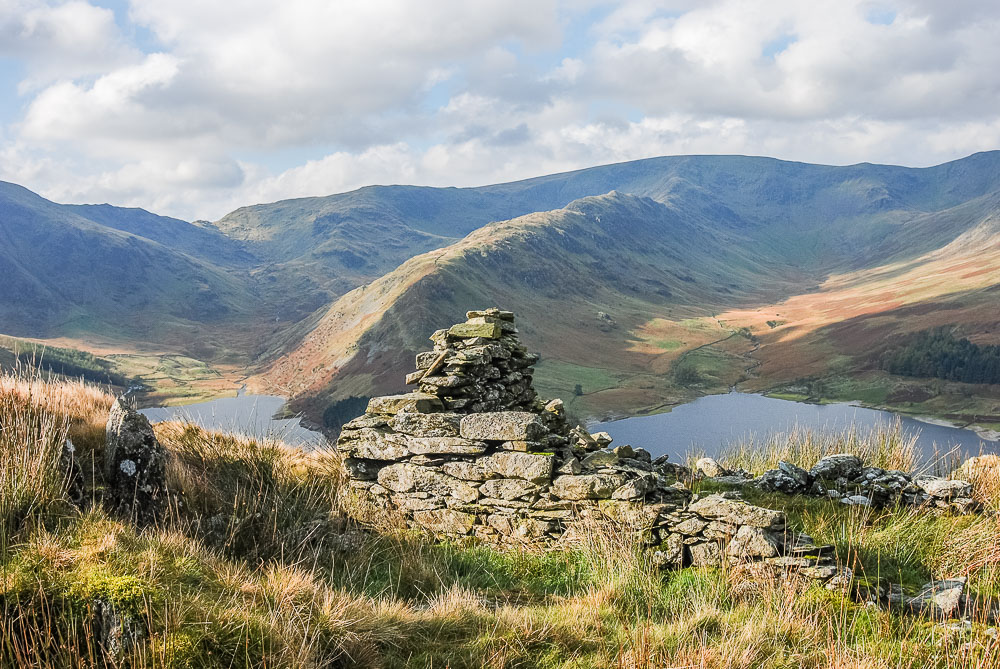
As we have plenty of time for today's walk and we know the worst of the ascent is behind us we take the time to visit a third cottage, which has all but disappeared when compared to the others. Across the valley Riggindale is getting plenty of sun.
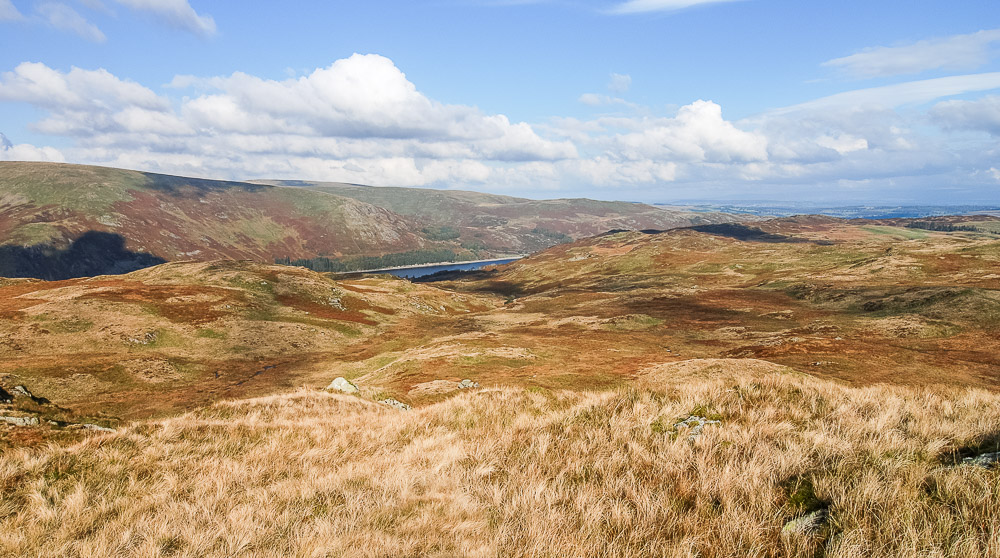
Once on Ritchie Crag we survey the landscape and check out the original planned route to Aaron's Bield, which is roughly where the top of a lone tree is just about visible below us to the left.
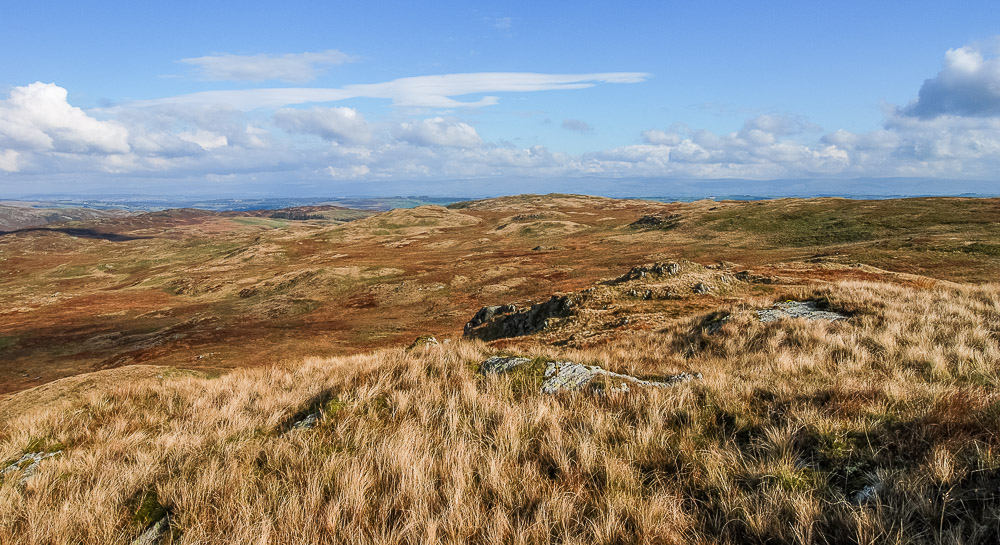
We also check out the possible alternative route which would mean heading towards Woof Crag, in the centre of the image, and then heading across to Hare Shaw, at the far end of the ridge on the right.
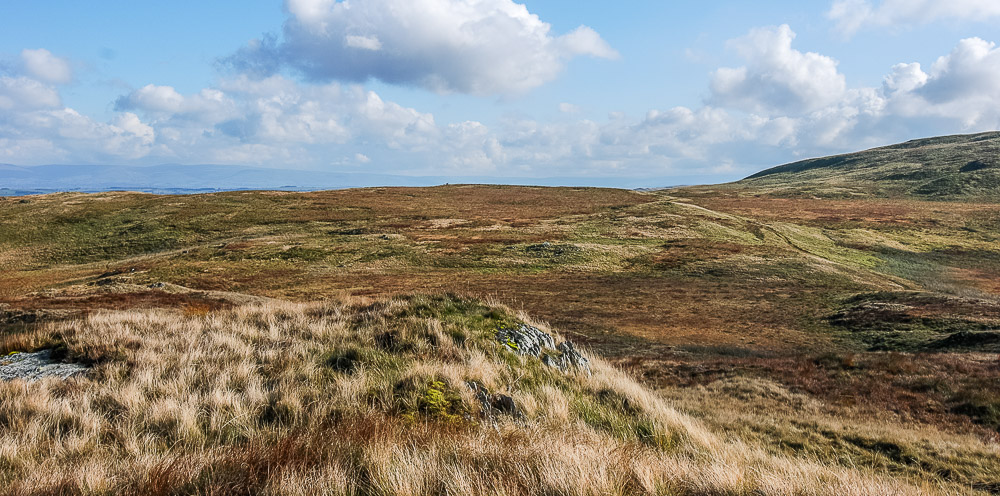
As we check out the route I spot a deer on the horizon heading for the Old Corpse Raod.
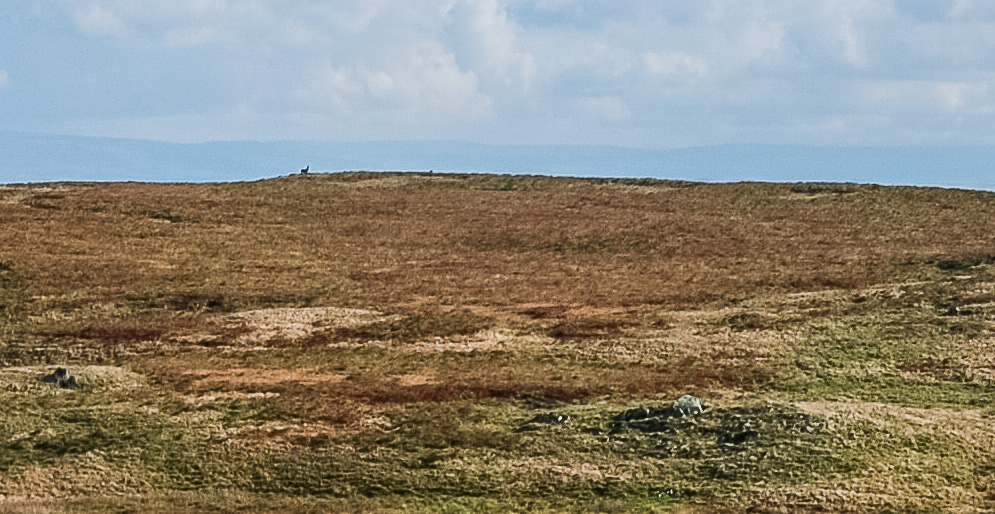
It doesn't hang around for long and appears to be alone.
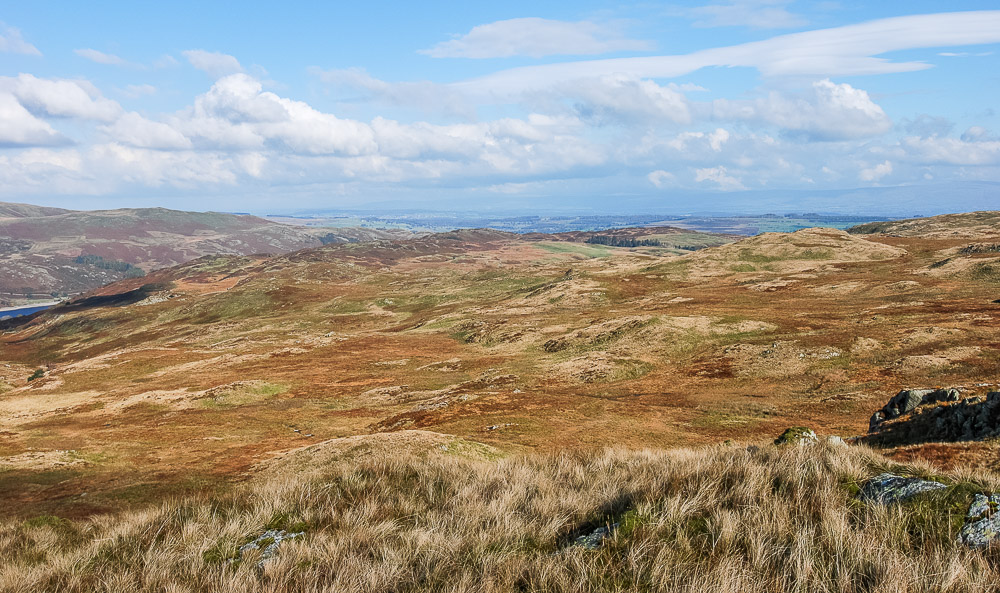
Rather than drop down to Aaron's Bield we opt to stay up high and enjoy the views.
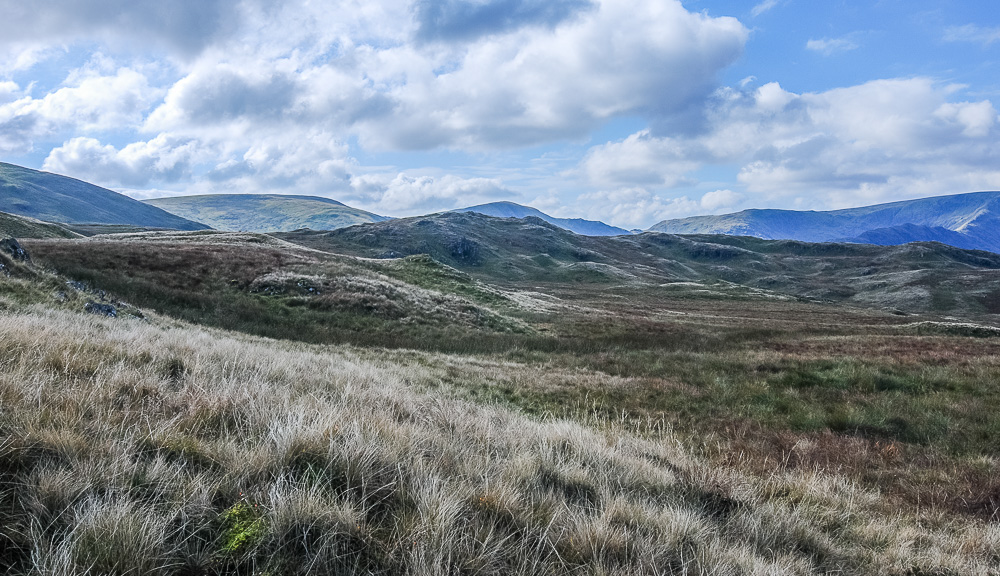
Dropping off Ritchie Crag we pick up a track that takes us in the direction we wish to go and we soon find ourselves looking back at Ritchie Crag.
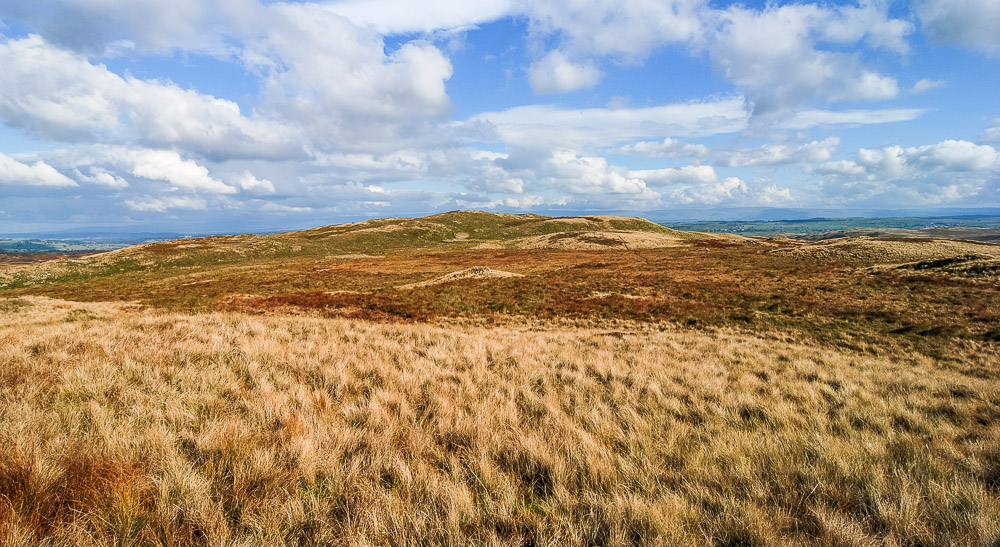
As we pass in front of Woof Crag we find oursleves looking at a clear path onto Hare Shaw. It was certainly an easier route to follow than we had expected.
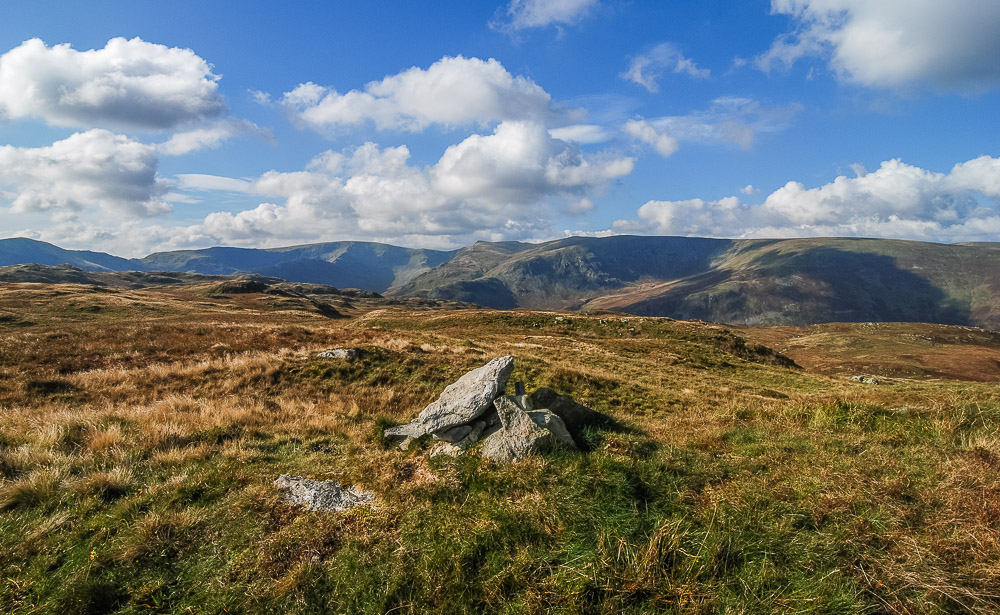
The sumit of Hare Shaw is soon reached and unlike last time we have no need to work out which cairn is actually the summit as this route takes us straight to the highest point.
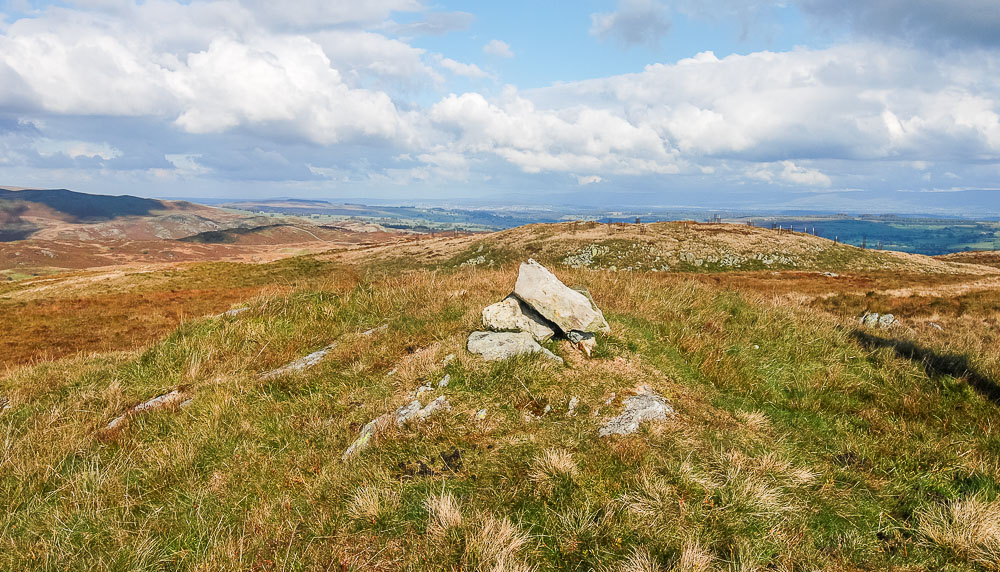
From this shot it looks as if the area where the trees are planted would be the highest point but, as a previous shot showed, we are in fact stood at the highest point. We know we have a bit of a steepish, path free and potentially ankle breaking descent ahead of us so we don't hang around for long.
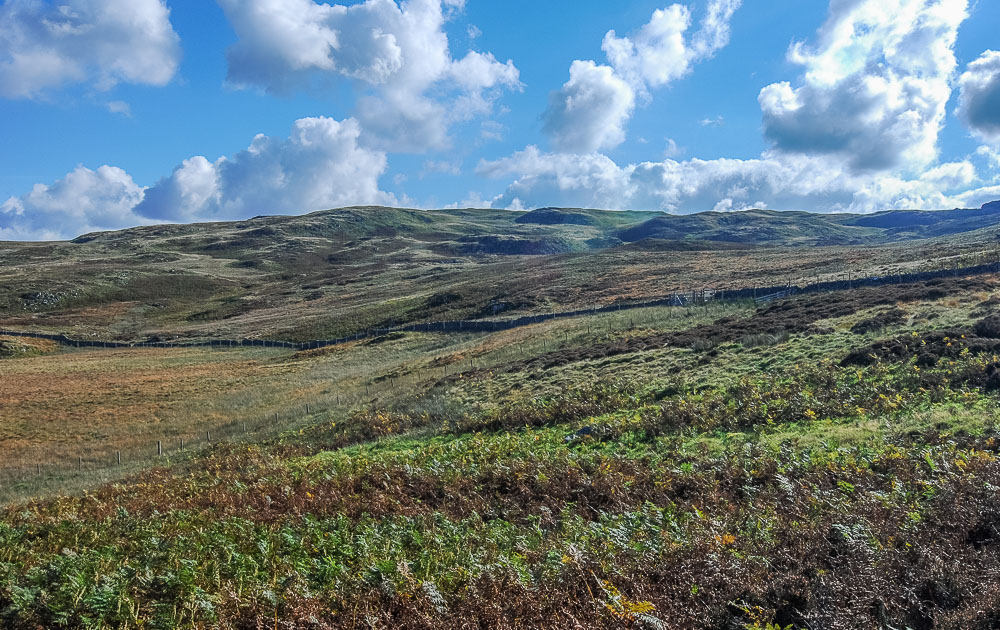
As expected it was a mainly pathless descent through tussocks and old ferns that required watching where your feet were going. With care we soon found ourselves close to the wall and a path that took us to the gate through the wall. Here looking back to Hare Shaw and Powley's Hill.
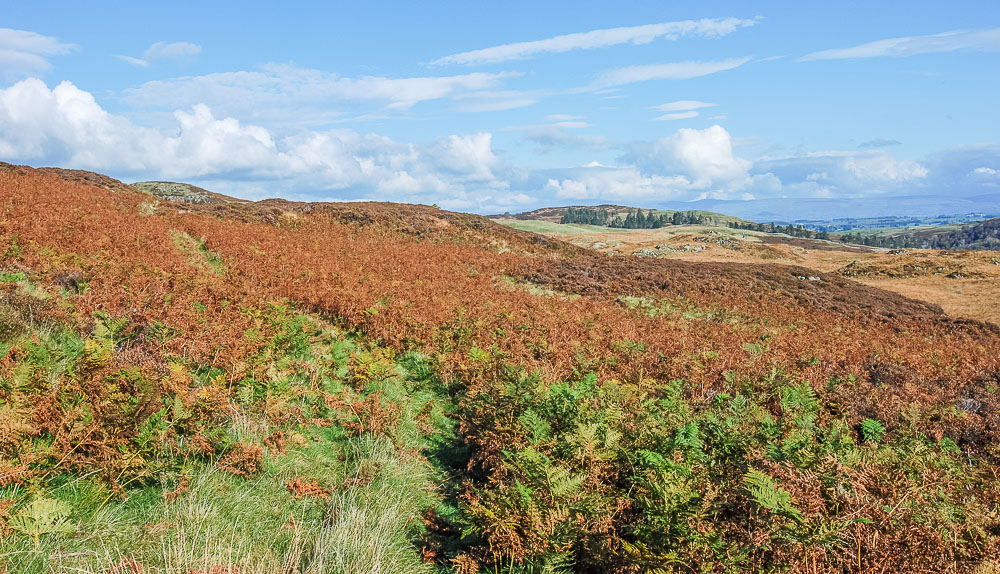
We know that from here all we have to do is follow the path which will eventually take us to Naddlle Low Forest in the distance.
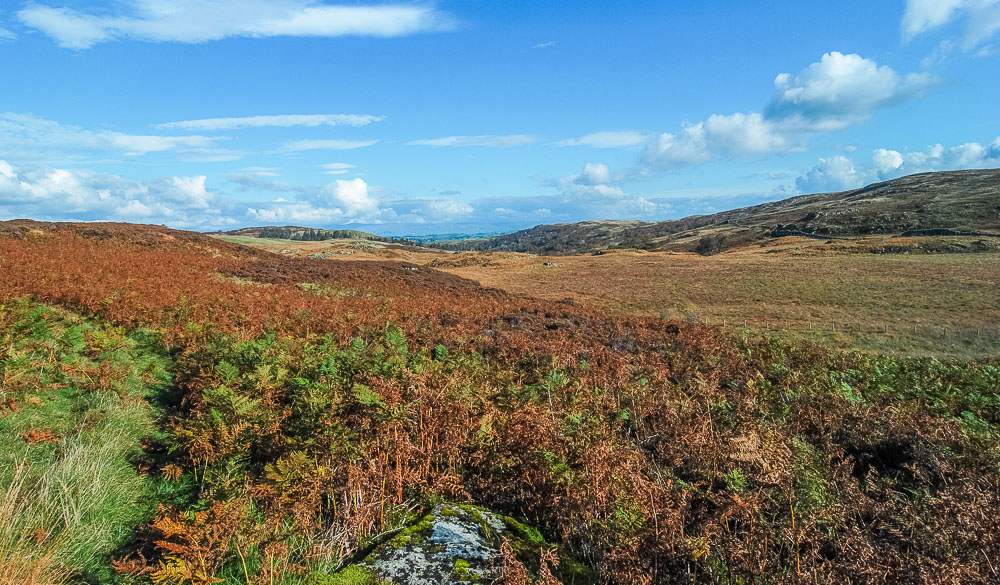
Looking across to Harper Hills and Scalebarrow Knott as we head for Naddle High Forest.
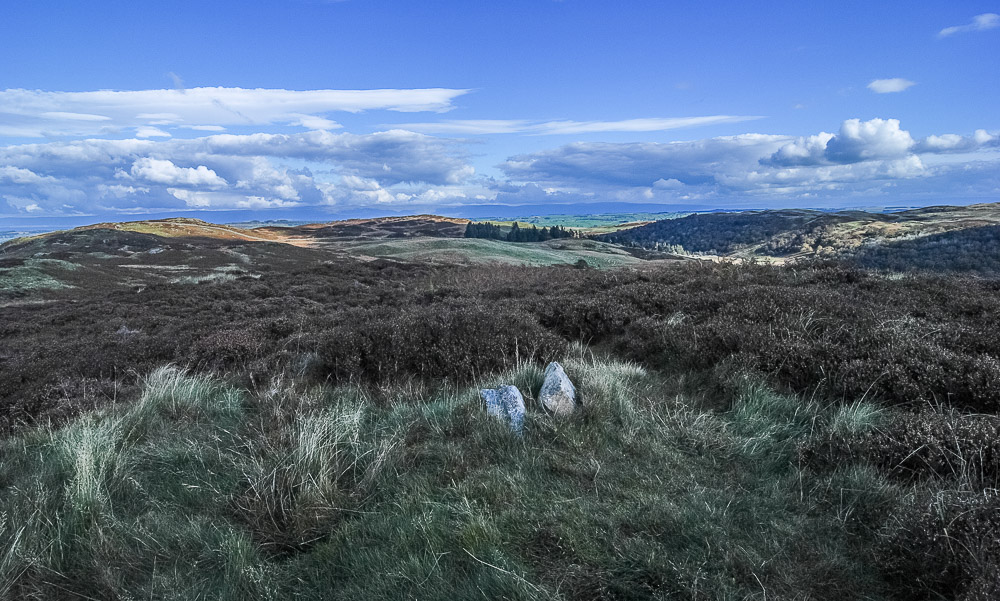
We had hoped to avoid the summit of Naddle High Forest but the route below it was pathless so we had no choice but to visit the summit again.
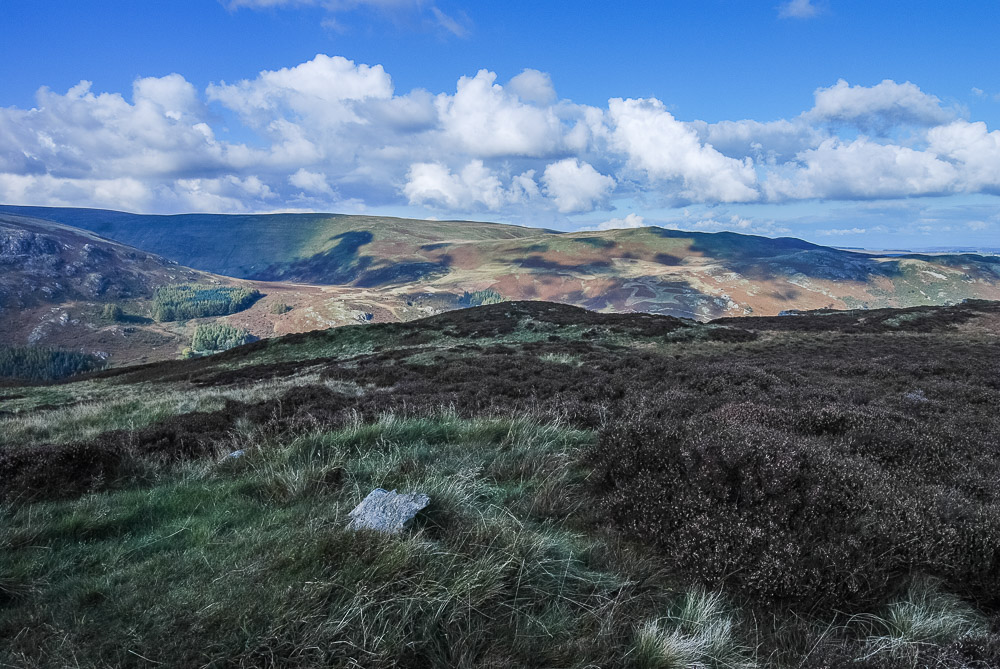
Although the views from here are excellent we pass on stopping on the summit for lunch as, despite the sunshine, there is a cold edge to the wind.
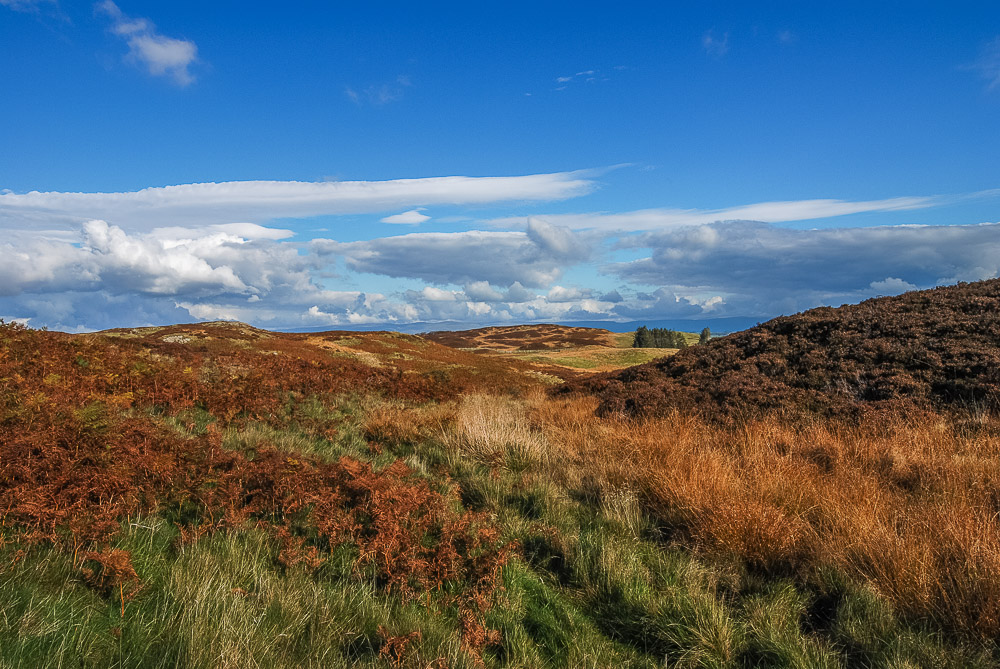
Instead we find a sheltered spot out of the wind with a view towards Naddle Low Forest and Wallow Crag, which will be our next top.
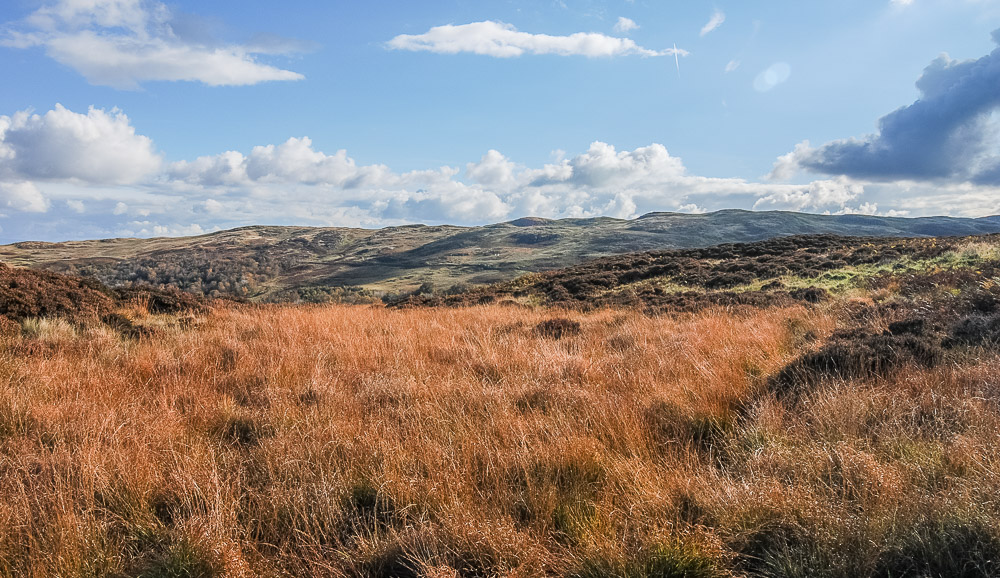
In front of us are the summits of Scalebarrow Knott, Harper Hills and Powley's Hill.
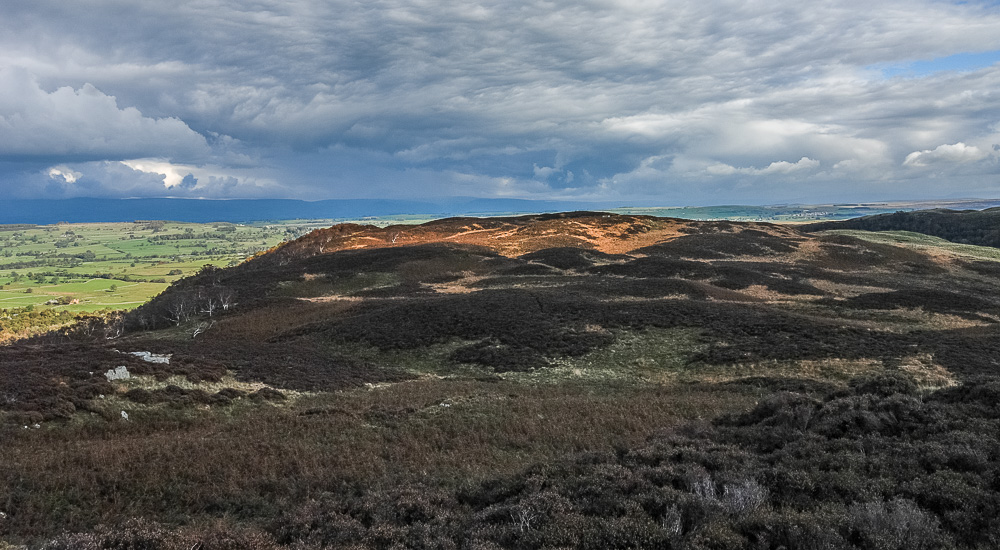
Lunch over we resume following the path, which meanders around the various lumps and bumps that make up this area as we get ever closer to Naddle Low Forest.
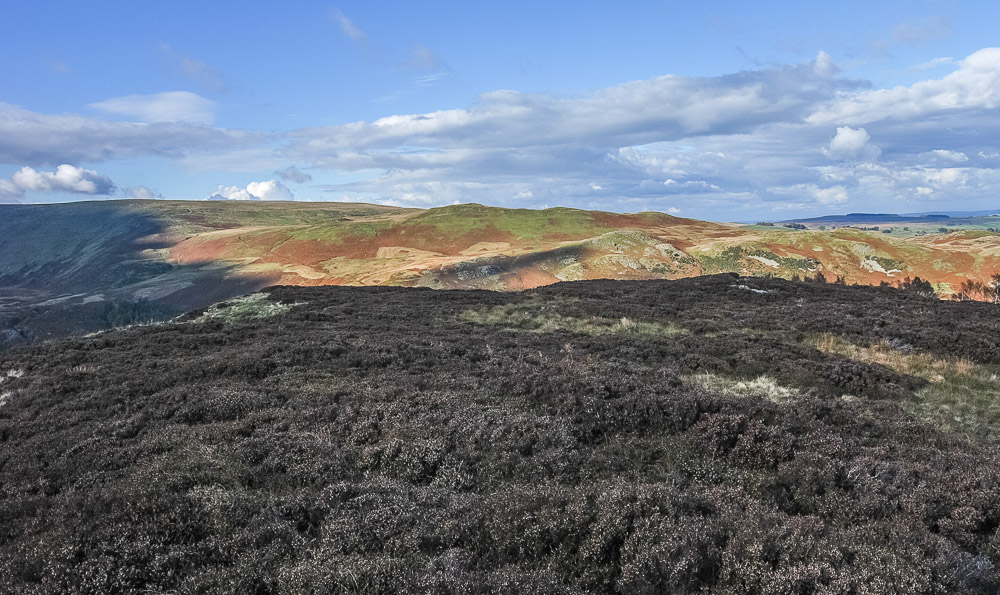
For much of the time it is necessary to watch where your feet are going as the path goes in and out of the heather.
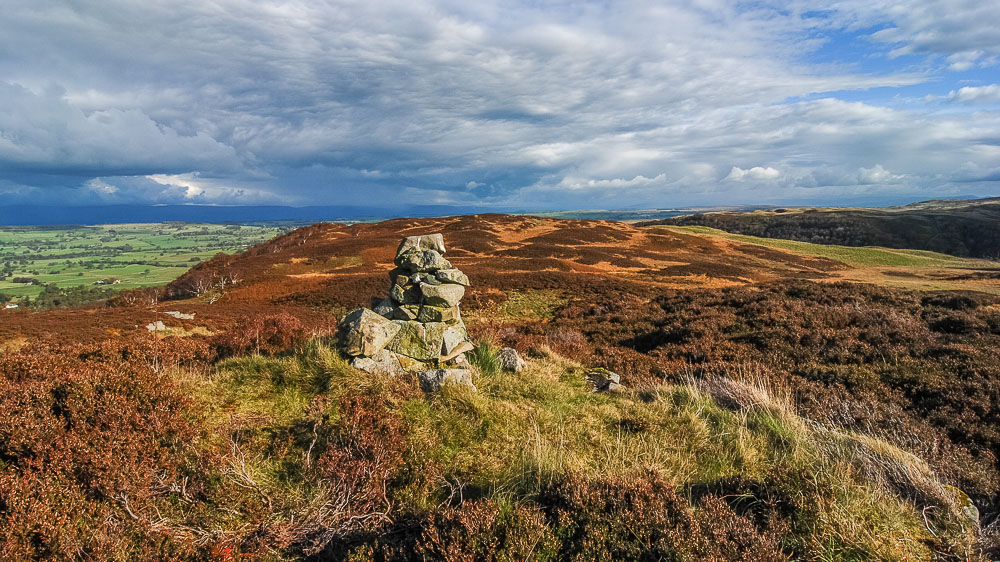
The path takes us to the summit of Wallow Crag where we pause to admire the view and note where the path is.
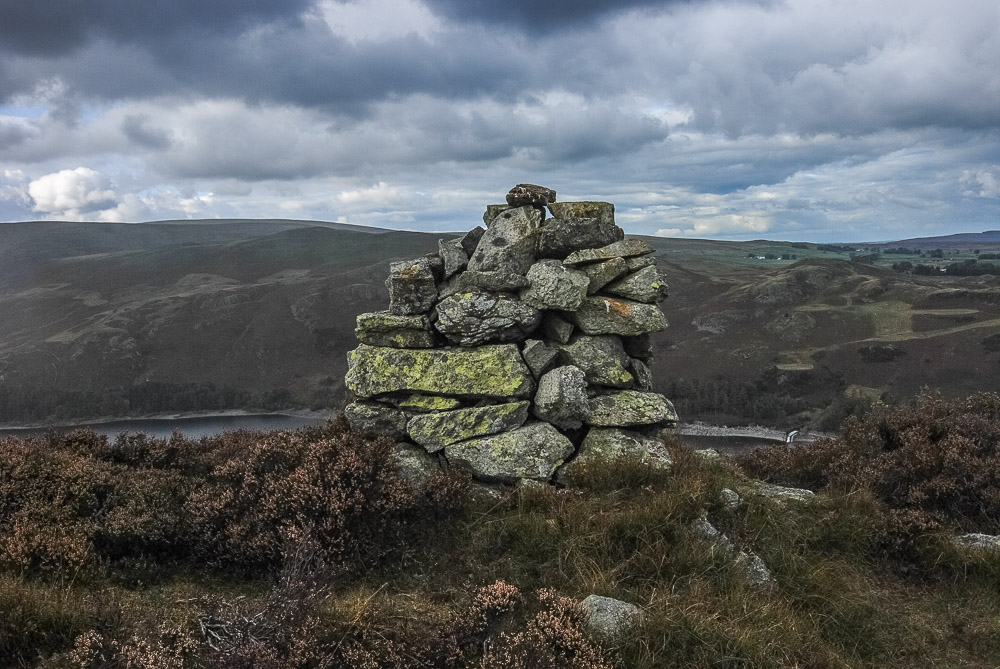
This time we stick with the path between Wallow Crag and Low Naddle Forest and soon find ourselves looking at Hugh's Laithes Pike cairn.
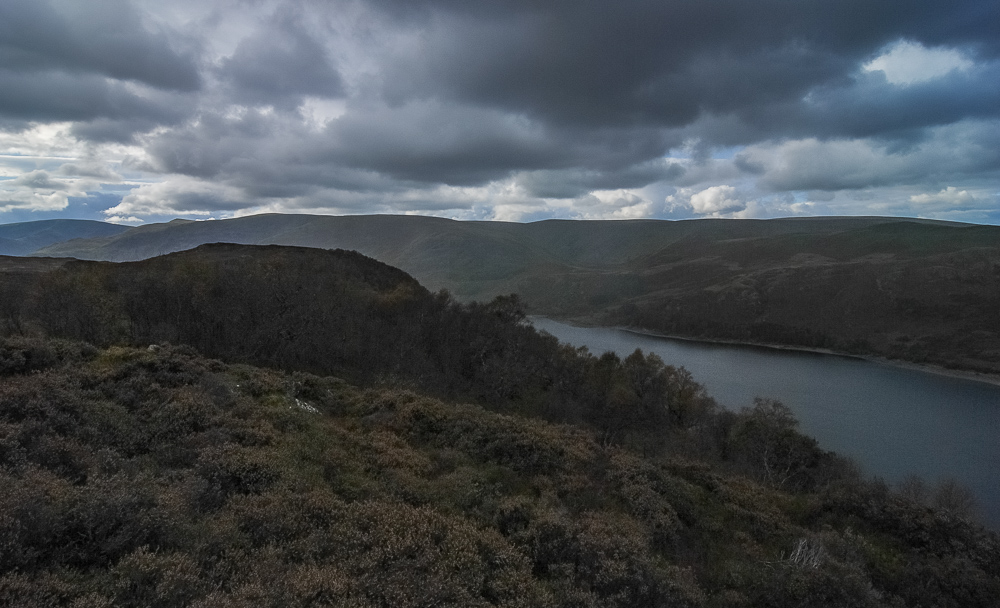
Looking along Haweswater to Fordingale Bottom from Hugh's Laithes Pike.
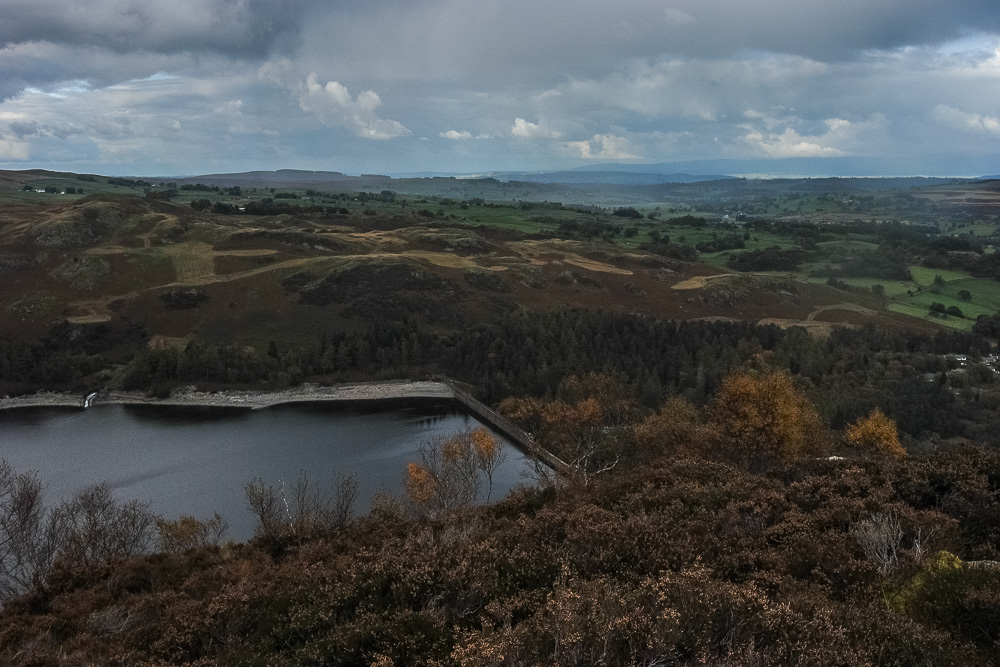
From here there is great view of the dam, although it also starts to rain.
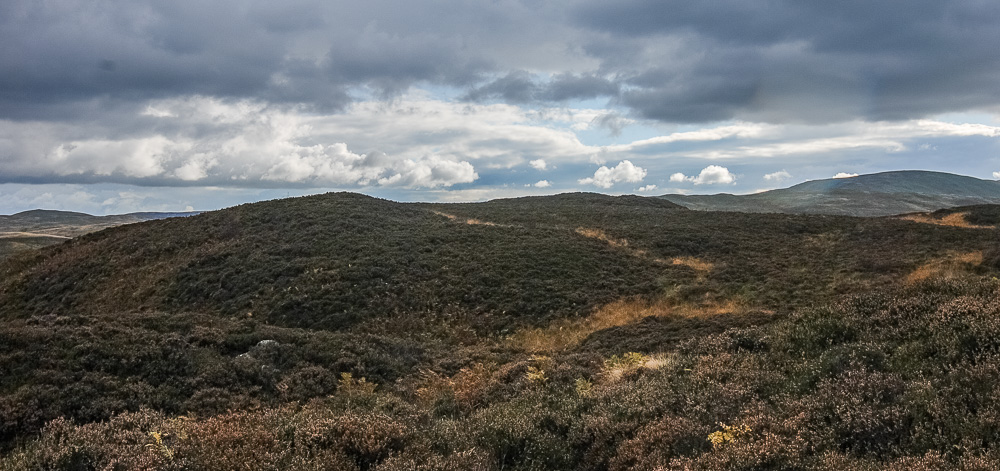
We have been here before so which one is the summit? We know it isn't the one closest to us, in fact it is the one in the centre. From here it looks like we just need to follow the path.
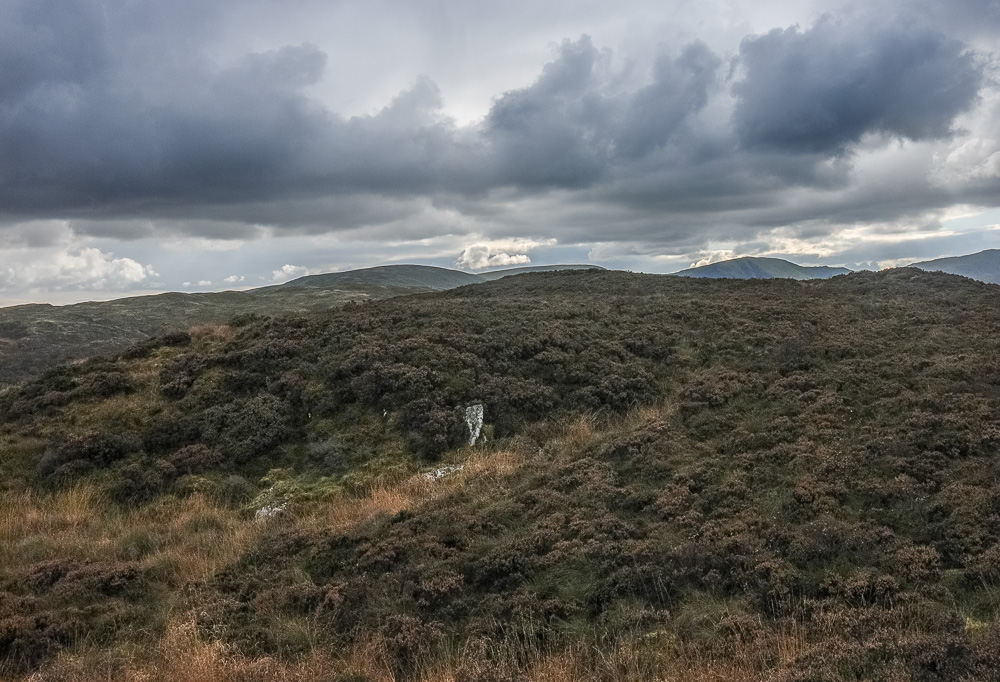
Not quite, just as before the path disappers but we know it isn't the top on the right, as we have been there before, so it must be the one on the left.
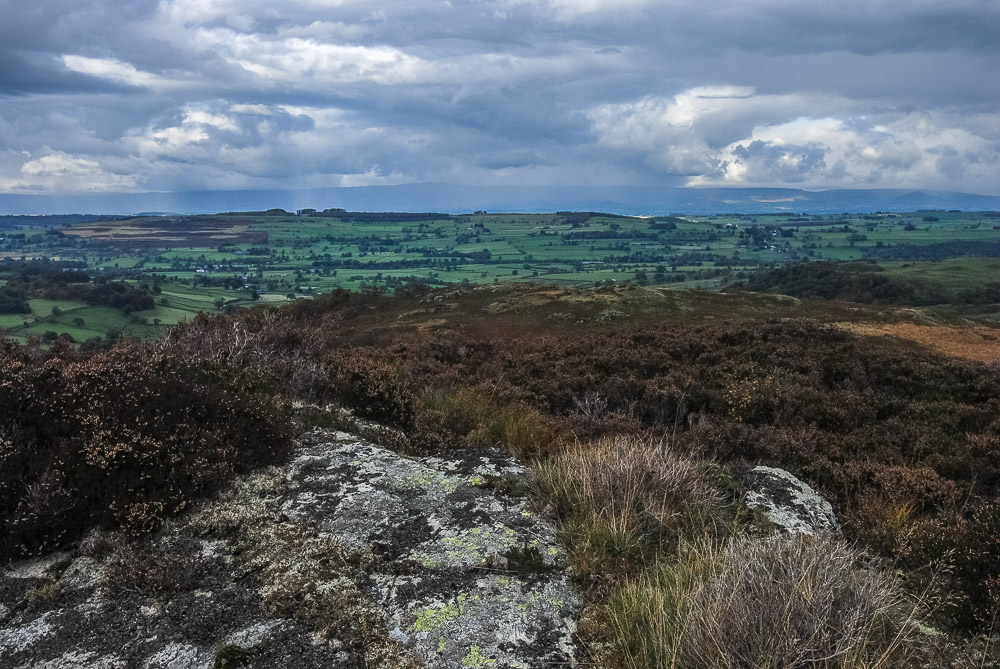
After fighting our way through the heather the GPS confirms that this is indeed the summit of Low Naddle Forest. There had been one other contender a few yards north but this was slighty higher.
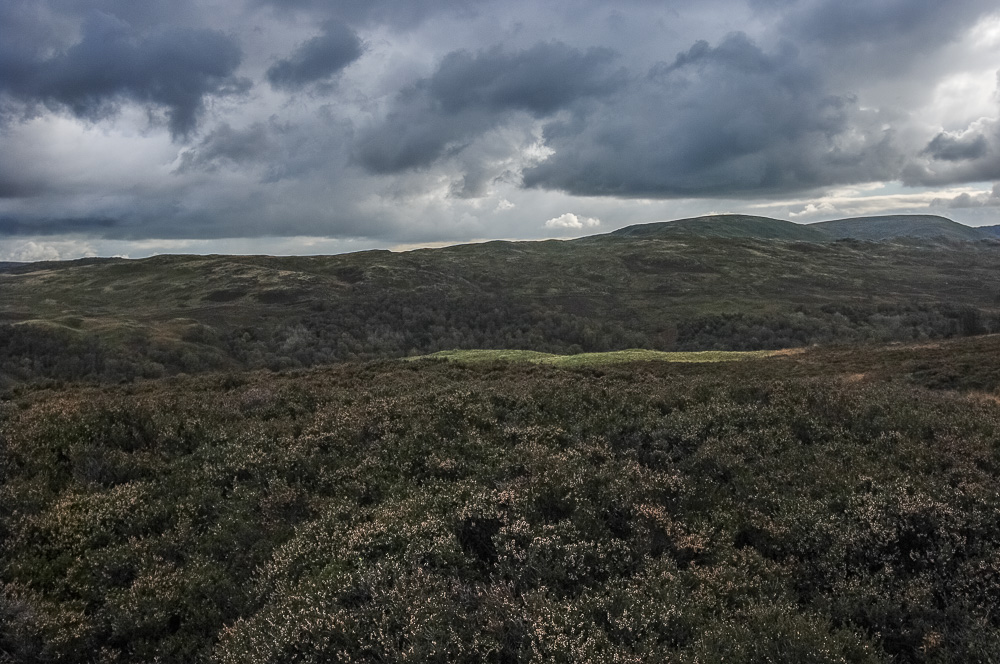
Looking towards Selside Pike and Branstree from the summit.
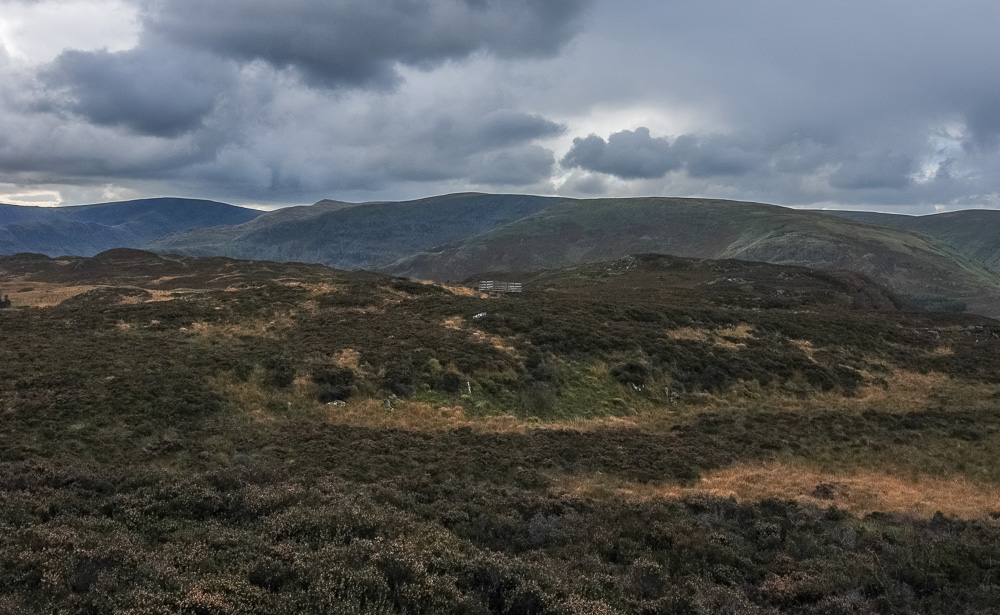
High Raise and Wether Hill from the summit. The last time we were here the first bump we had gone up was the one with the fence, if only we had continued north-east instead of bearing north and ending up at Hugh's Laithes Pike we would have claimed the summit then.
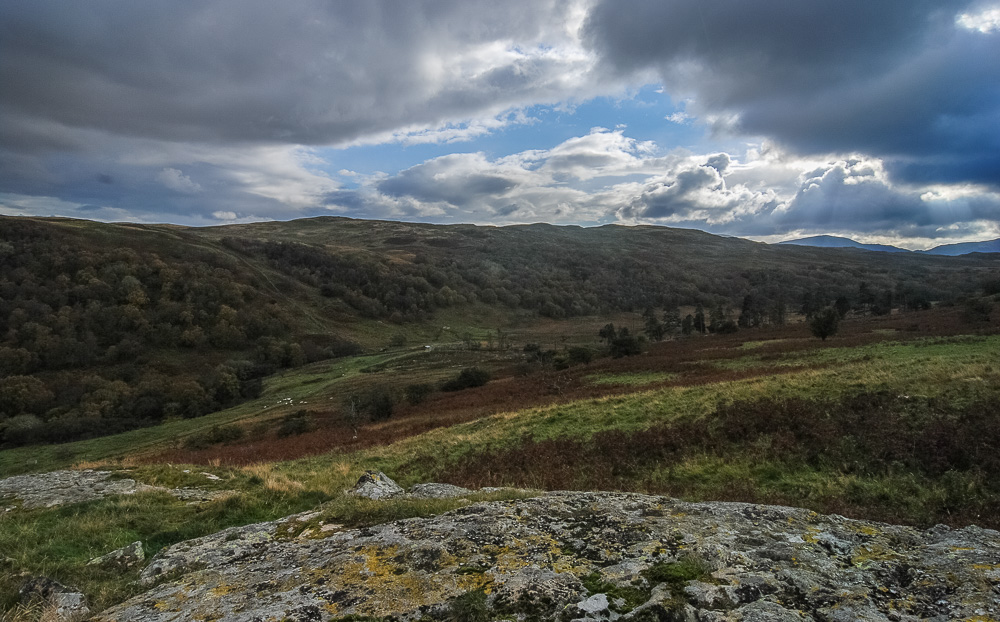
Happy we have summited the correct bump we head south to pick our way through another pathless section to the gate in the fence. Now on grassy fields we head across to find a rock with a view across Naddle Beck to Harper Hills.
We debate continuing south, heading downhill to pick up the track below, but instead opt to take the same route as last time and head north-east to the track through woods to Naddle Farm and the road back to the hotel. As we reach the road the rain that had threatened to start at Hugh's Laithes Pike starts again so it's camera away, waterproofs on and a wet trudge back to the hotel.
My camera is still being repaired so I had borrowed John's camera for this holiday and I didn't realise he still had his camera set to shoot jpgs rather than in RAW. It was only when I came to process the images that I discovered this. As I normally deliberatly underexpose my images, to try to avoid blown highlights, the fact they were jpgs and not RAW images meant I couldn't correct the exposue without weird things happening, so please excuse the funny colours in some of the images. Thankfully my camera was repaired and returned to me shortly after we got home. If I ever need to borrow John's camera again I'm sure we will both remember to set it to shoot RAW.
All pictures copyright © Peak Walker 2006-2023